Obtaining and installing TIM Plus
Using the login credentials you generated during your initial TIM Plus inquiry, access the [Tri-Line Gateway] (http://gateway.tri-line.com). After logging in, you'll be sent to your home page, where you can get your copy of the application downloaded.
It is important that you download your software only from this location, since each installation package is tagged with a unique ID bound to your account.
Installing TIM Plus
Once you have downloaded the setup package, double-click on it and follow the setup wizard in order to complete the installation:
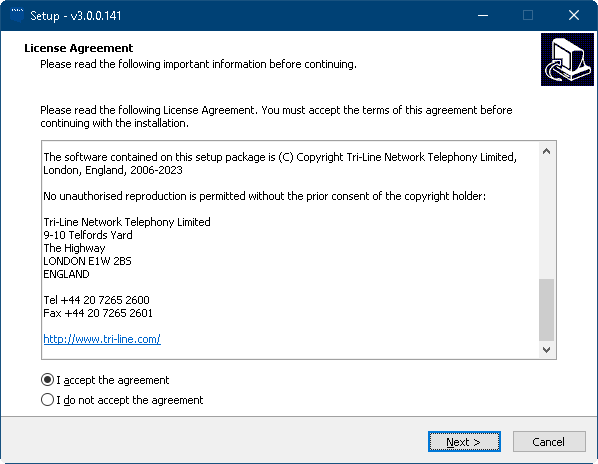
Read through the End User License Agreement, once you have done this, select I accept the agreement and press the Next > button to continue.
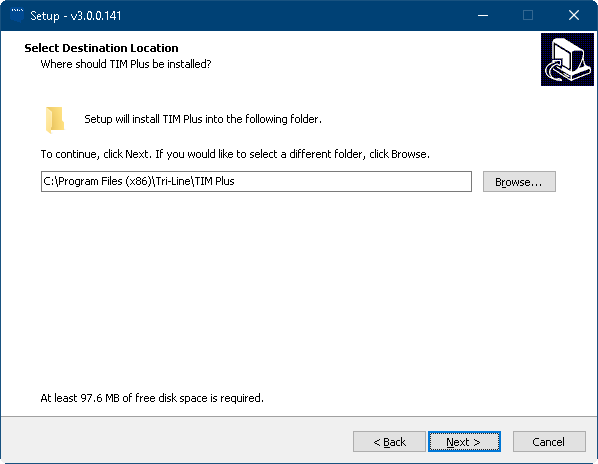
You can specify the location where you want your TIM Plus to be installed; by default, it will be installed to C:\Program Files (x86)\Tri-Line\TIM Plus. You can change this installation path by pressing the Browse... button and selecting a path. To confirm your path, select the endpoint and press the Ok button. Press the Next > button once you are happy with your install path.
The setup is now ready to be installed in accordance with your selected settings. To continue with the installation, press the Install button. If you would like to make any changes to the installation setting you've already configured, press the < Back button.

Once the installation process has been completed, you will be asked to configure your web server settings for TIM Plus. You can choose to access TIM Plus locally on either the machine's IP or via the hostname of the PC. You also need to select the port number you want to run the TIM Plus web server on. If the port is already in use by another application.


The installation package will then start to install TIM Plus. A window detailing the installation's status will appear throughout this, as seen below:

Click on the finish button. You can now configure your TIM Plus install on your web browser, which should pop up immediately, shortly after the window closes.
Setting up TIM Plus
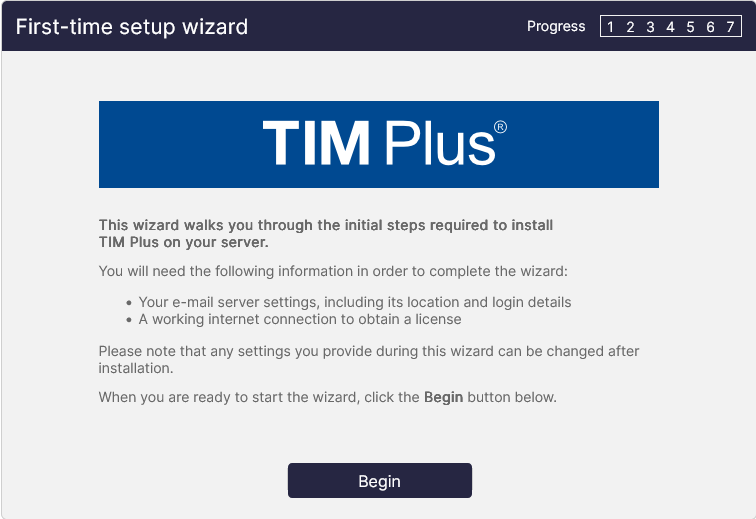
When you are ready to begin the setup and configuration of your TIM Plus software, press Begin.
PBX Setup
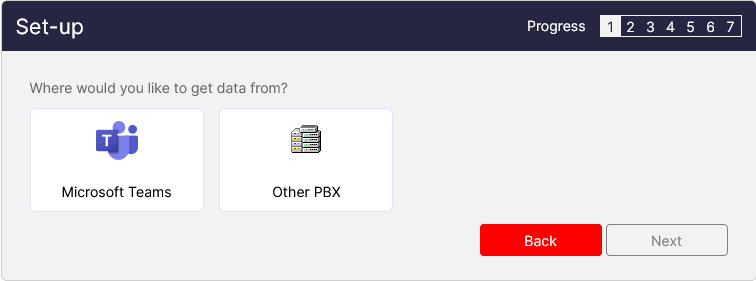
Please refer to the links on the left-hand side on how to connect and configure your relevant PBX or cloud service, if you have not already done so.
Please continue with the configuration wizard as per below.
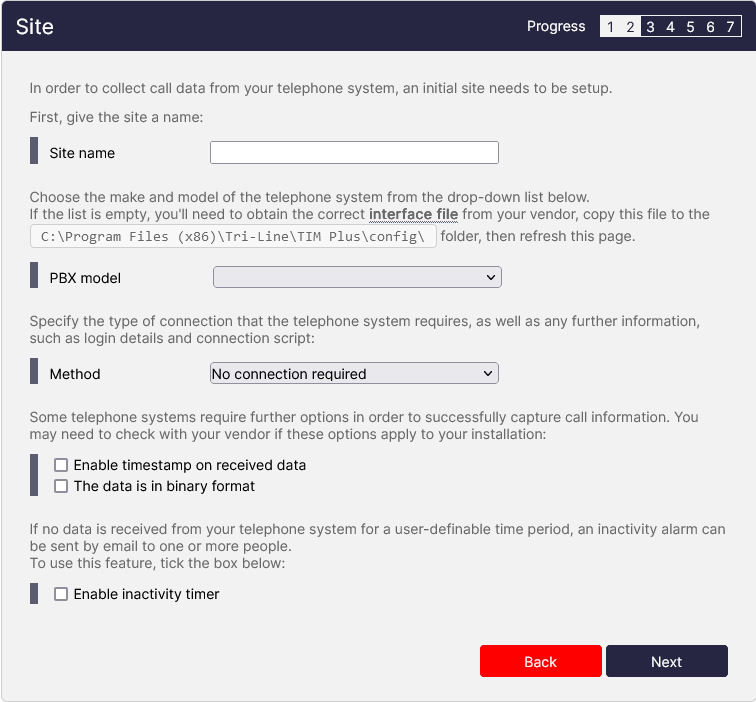
Site Setup
Site name: Location of where or where the PBX serves PBX model: This is the model of PBX which you configured ealier, some cloud systems for go this step. Method: This is the connection method, please refer to the PBX documentation for the correct connection method. Enable timestamp on received data: Please refer to the PBX documentation. The data is in binary format: Please refer to the PBX documentation.
Tariff
When prompted to select a tariff table, scroll down the list to locate the one relevant to your country and click on set as default. Please note that you may have to download your tariff if it's not already installed.

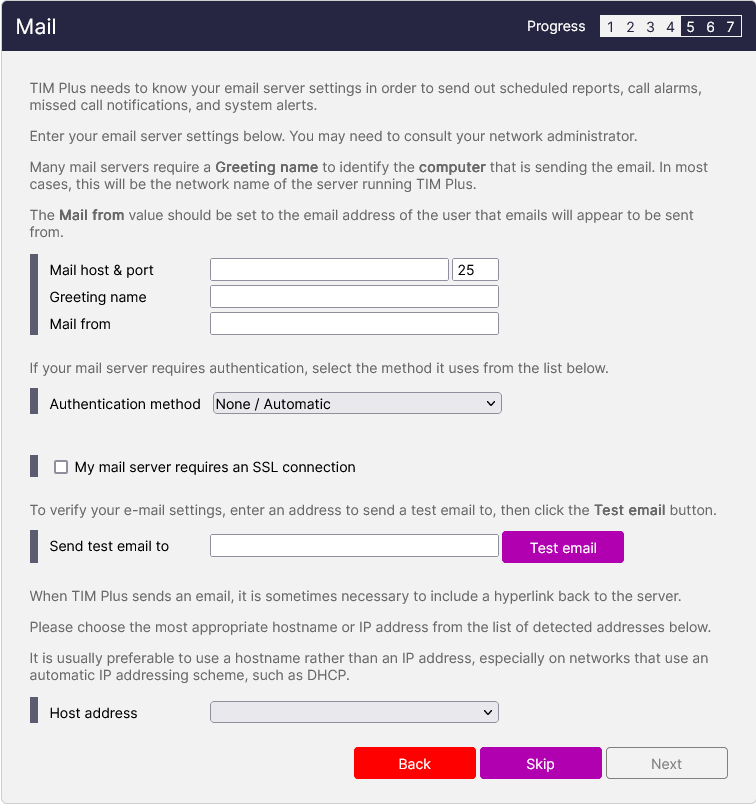
Mail
Providing email settings will enable TIM Plus to send out scheduled reports, call alarms, missed call notifications, and system alerts.
Mail host & port: The mail server address and port to connect to the mail server. Greeting name: Server greeting (if required) Mail From: This is address that the email will be sent from. Authencation method: This option enables SSL (standard). Send test email to: This option allows you test the input mail server settings.
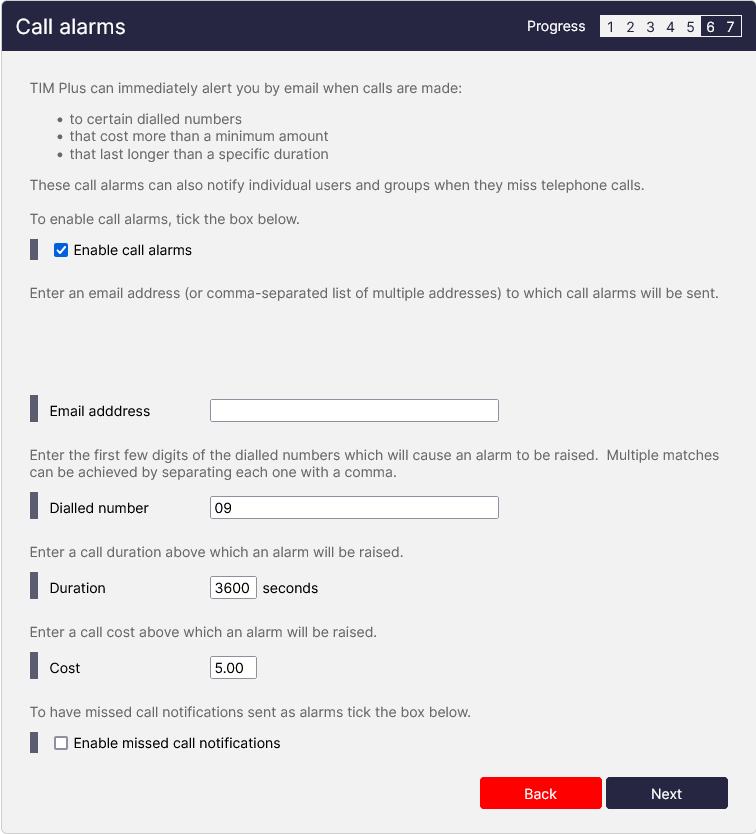
Call Alarms
Call alarms allow you to setup notifications when certain calls conditions are met.
This can be for calls such as:
- To specific dialled numbers.
- That cost more than the minimum amount.
- That last longer than a specfic duration.
For further information on call alarms, please refer to the link below on call alarms
Obtaining a license manually
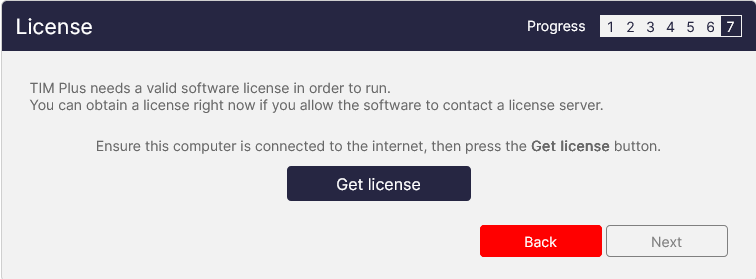
When asked to provide a license certificate, click on the Get license button to retrieve this automatically from our servers.
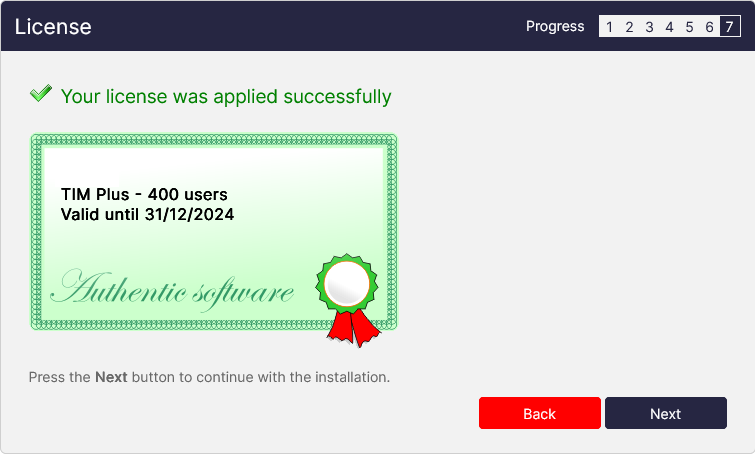
If you cannot update your software license automatically, you can apply this manually by following the steps below:
In the Get license window, click on the Next button and copy the product key displayed in the licence box, as shown below:

Log in to the gateway using your username and password.
In the Products panel, click on the TIM Plus product.
In the software license panel, click on the activate now link.
Paste the product code in the activation text box.
Enter the number of users you intend to log and the version number of the software, then click on the Activate Now to obtain the license certificate.
Copy and paste the certificate in the License box of the TIM Plus setup wizard.
Creating an administrator account
In order to login to TIM Plus you will be asked to create an Administrator account
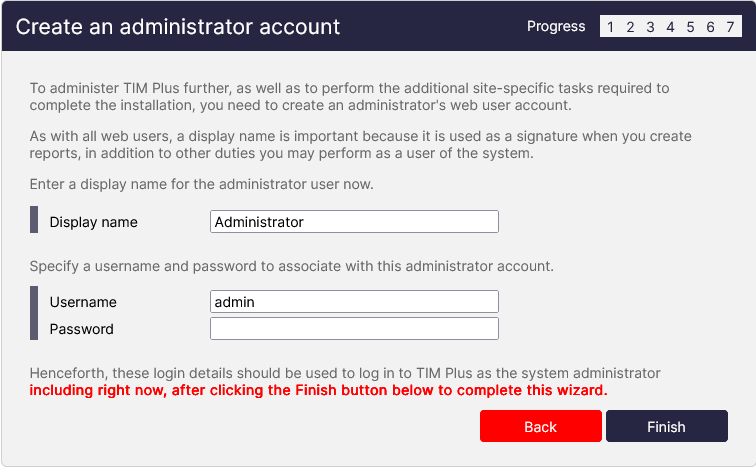
Display Name: This is the given name of the user account, this will show on generated reports. Username: A special name given to a person to uniquely identify them (Must be unqiue & is casesentive). Password: a secret word or phrase that must be used to gain admission to the system. (Case Sensitive).